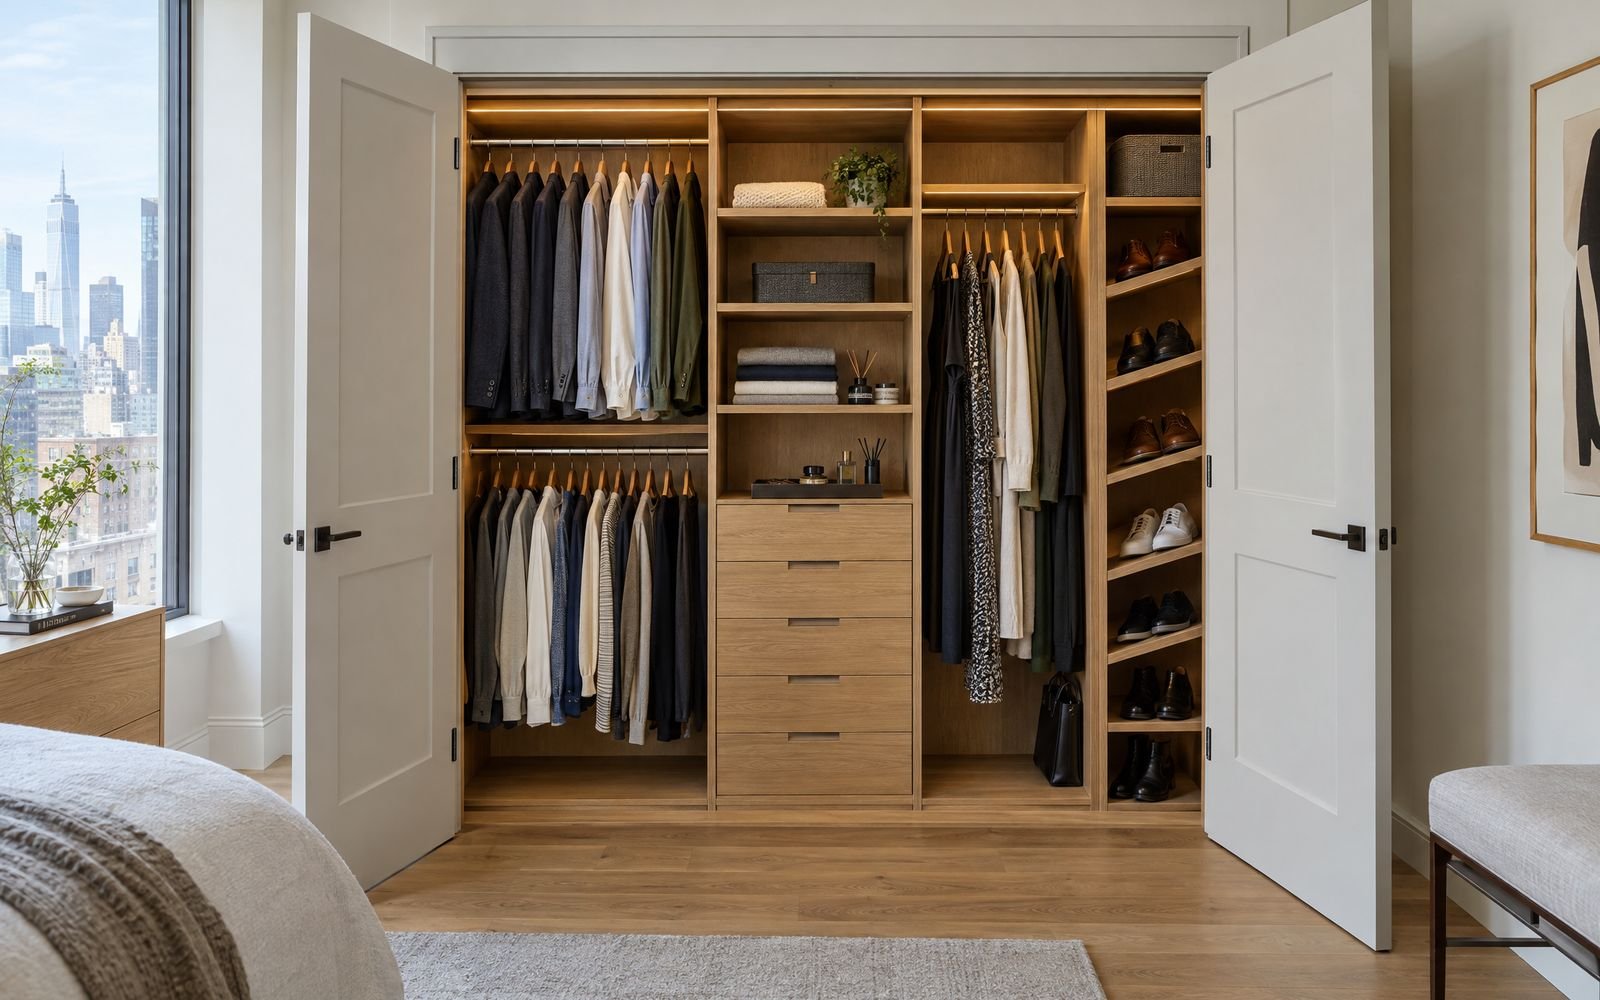
Space planning is the part of closet design that cannot be fixed later. A finish can be changed and a drawer can be added, but an aisle that is four inches too narrow will be too narrow for as long as the closet stands. These are the numbers to know before anyone draws a line.
Key numbers
How to measure.
Use a steel tape, work in inches and round to the nearest eighth. Sketch the closet from above, label the walls A (back), B and C (sides) and D (the door wall), and write each number next to its wall.
- Width, three times — the back wall just above the baseboard, at chest height and near the ceiling. Walls lean; keep the smallest.
- Depth, at both ends — back wall to the inside of the door trim.
- Ceiling, front and back — and to the underside of any soffit or beam.
- The opening — width and height inside the trim, and the direction the door swings.
- The returns — each short wall between the opening and the side walls.
- Obstacles — outlets, switches, vents, sprinkler heads, access panels, pipes, radiators, windows. Measure each from a corner and from the floor.
Then take straight-on photos of every wall, one of the ceiling and one from the doorway. The Studio's photo & measurement tool walks through exactly this and sends it to the design team.
Minimum dimensions for a walk-in.
Storage takes about 24 inches of depth for hanging and 12 to 16 inches for shelves. Add a 36-inch aisle and the minimum sizes follow:
| Layout | Minimum width | Comfortable | Notes |
|---|---|---|---|
| One-sided | 60" | 66" | 24" hanging + 36" aisle |
| Two-sided (galley) | 84" | 90–96" | Hanging both sides; or 24" + 14" shelves + 42" |
| U-shaped | 84" × 84" | 96" × 96" | Corners lose depth — plan them on purpose |
| With island | ~10′ × 10′ | 12′ × 12′+ | 36" min. on every side of the island; 42" better |
Below about 5 feet of width, a walk-in usually works better as a deep reach-in with doors, or as storage on one wall with folded and shallow pieces opposite.
Clearances that matter.
- Drawers need their full depth plus about 18 inches of standing room in front of them — roughly 40 inches from the face of a 22-inch drawer to anything opposite.
- Cabinet doors swing out by their own width. Two facing doors in a narrow aisle will collide; consider sliding, bifold or no doors on one side.
- The entry door must clear the first bay. Mark its swing on the plan before deciding what goes on the hinge wall.
- Corners: where two runs meet, the inside corner is hard to reach. Use corner shelving, a rod that turns the corner on a bracket, or simply let one run stop short.
- Ceilings: a run to the ceiling with a top cabinet gains a shelf of off-season storage; anything above about 84 inches is for a step stool or a pull-down rod.
Working with obstacles.
Older apartments especially are full of things that cannot move. Outlets inside a cabinet can be relocated or turned into charging drawers; switches stay accessible behind a removable panel; sprinkler heads need clearance from the top of the cabinetry set by the fire code (typically 18 inches below the deflector — your building will confirm); radiators and HVAC returns must keep their air flow; access panels must stay openable. Note every one before the design starts — each changes where a bay can go.
For pre-war buildings with out-of-square rooms, see the pre-war closet guide.
Common mistakes.
- Using the widest measurement instead of the narrowest
- Not marking the door swing, then putting drawers behind it
- A 30-inch aisle — it feels fine on paper and cramped in use
- Covering an access panel or crowding a sprinkler head
Check yourself.
What is the minimum size for a walk-in closet?
A one-sided walk-in needs about 60 inches of width (24 inches of hanging plus a 36-inch aisle). A two-sided walk-in needs about 84 inches. With a centre island, plan on roughly 10 by 10 feet.
How wide should a closet aisle be?
At least 36 inches of clear floor between the fronts of the storage; 42 inches is comfortable, and 48 inches is better where drawers open into the aisle.
Do I need exact measurements before a design visit?
No. Rough numbers and photos let a designer plan the layout; the room is then surveyed precisely before anything is drawn for fabrication.
Finished the module? Mark it complete — your progress is saved on this device.